Lists
Overview
Sitefinity Lists could be considered one of the most versatile modules for content creation in the CMS.
Whether you are creating a set of link cards with a title and icons for your home page, a listing of people on your teams, an FAQ accordion, or an A-Z list of services, the Lists module can help you easily create and style these content needs (and more), without the need to write code.
Why use lists?
- When there is a need to display a collection of content in a structured manner, Lists are often the solution whether the content will be used on one or more pages.
- The pre-written/styled components allow for a variety of layout options which may only require the content author to use pre-written terms (classes) to adjust the look to match the desired outcome.
- They allow the option of arranging the content into columns with mobile handling built in, allowing for automatic rearrangement of content when one piece is removed.
- One single list item could be built in a way to support completely different views/layouts in different areas without having to have an additional list built.
- Editing lists is easy! No need to go to one or more pages to edit the content, just edit it on the list, one time, and it will change it in every place it is used.
- Lists also allow for structured content organization in the CMS. Create a list for a specific section of the site and use that entire list where it is needed, or create one long list of like items to be used throughout the site, and separate them with Categories and/or Tags and display them where they are needed.
- The ability to share list items throughout the site drastically cuts down the need for content duplication.
Available Templates
Each layout template has various customization options outlined in detail on their respective pages. Learn more about each layout template by clicking on the buttons below:
Training
Create and Edit Lists
-
Create a List and List items
Create a List
You can create multiple lists with multiple list items within each list.
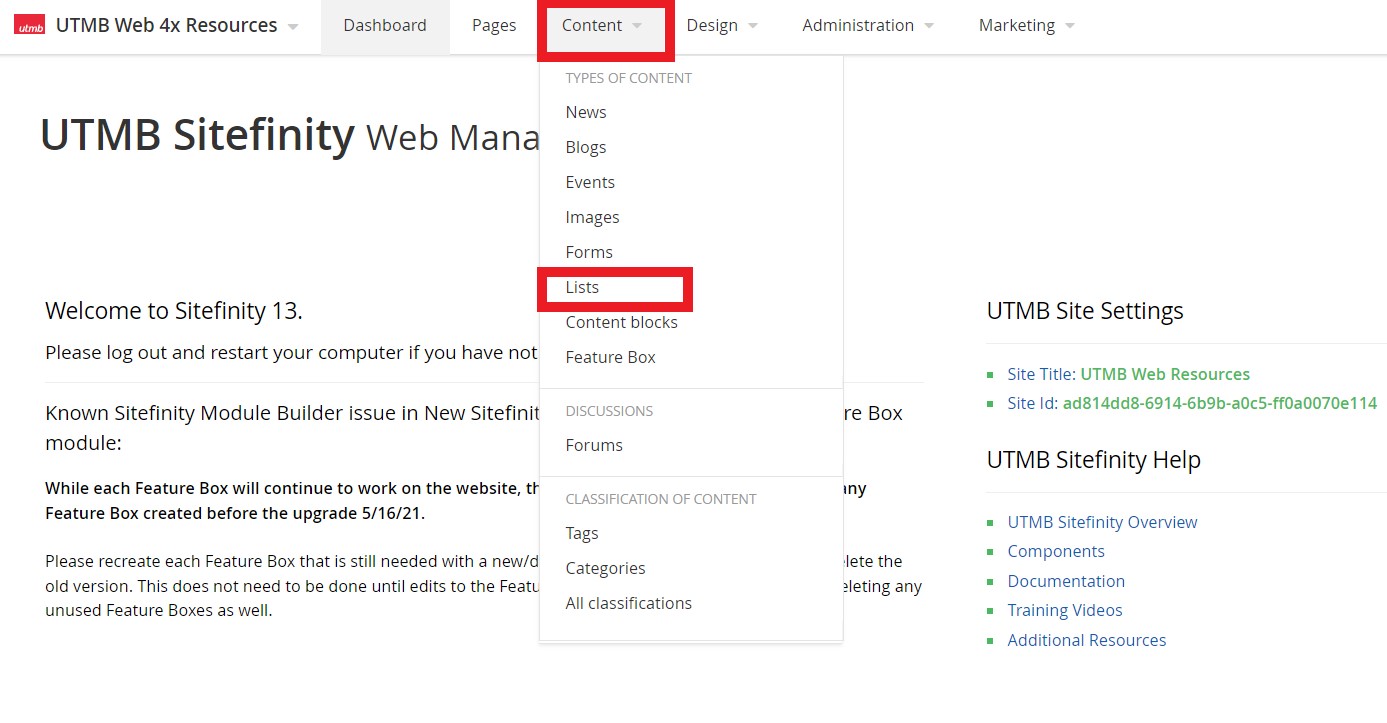
- Click the Content navigation menu item and then select Lists
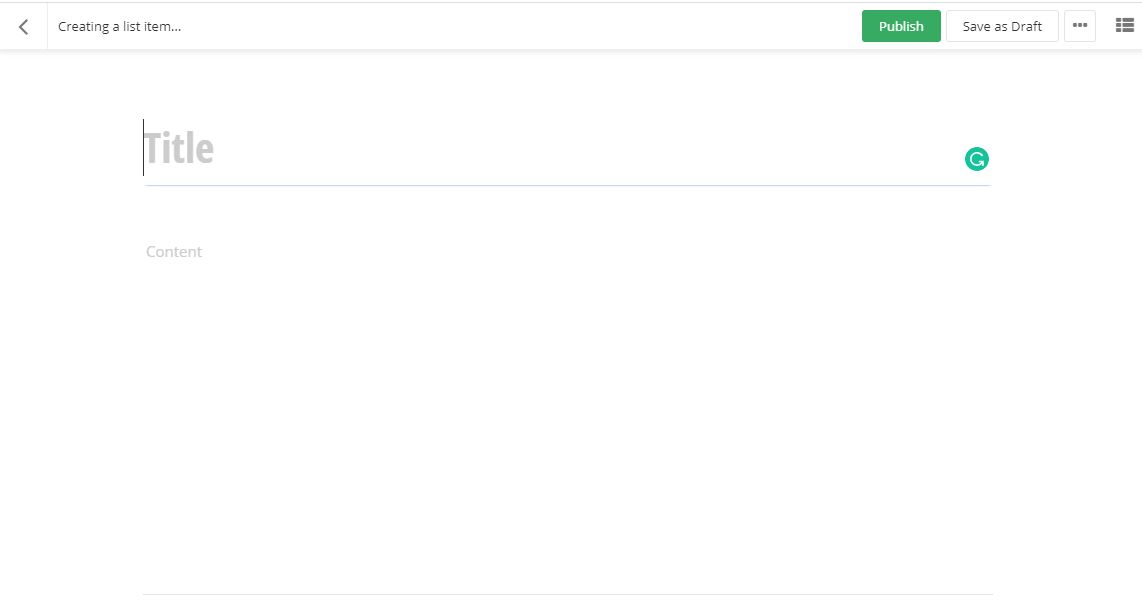
- Click the Create a list button
- Type a title and click the Create button

After you have created a list, you can now create list items.
Create List items
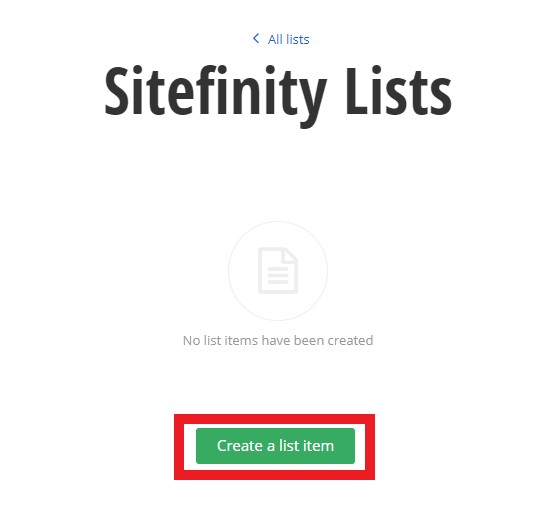
- Within a list, click the Create a list item button
- Add a title. This will be displayed as your list item title
- Click the Publish button
- Click the Content navigation menu item and then select Lists
-
Add content to a list item
Within the edit view of a list item, you have the option to use the formatting toolbar and/or edit the HTML by selecting the </> option on the far right of the toolbar.

Examples of how this content displays on a page:
-
Add Categories and Tags
Adding categories/tags allows the user to click on a desired category/tag to filter the content on the page. It can also filter specific items to be displayed on a page. You can add multiple categories and tags to content items such as lists, blogs, events, and images.

Adding Categories
- Click the plus symbol under the Categories section.
- Begin typing a category name to choose a predefined category, select create a category* (see note below), or select show all categories to select from the category list

*NOTE: Any new category created should be saved under the site's parent category. Email sitefinity@utmb.edu for assistance in organizing new categories.
Adding Tags
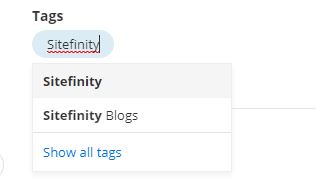
- Click the plus symbol under the Tags section.
- Begin typing a tag name to create a new tag or select a predefined tag. You can also select Show all tags to search through the predefined tags.
-
Make a list item a link
- Within the edit view of a list item, under the Custom fields section, type or paste the hyperlink into the Hyperlink field.

-
Add icons to list items
- Copy the class name inside the quotation marks from the selected icon available in the Font Awesome online library
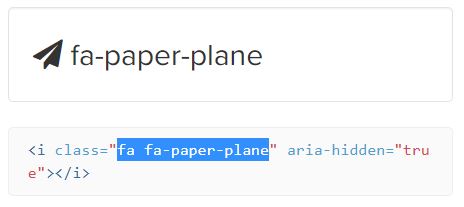
- Within the edit view of a list item, paste the class name into the Icon field under the Custom fields section of the list item

- Further customize the icon color by adding an icon color class to the CSS area. See Other Color Options.

Need to add an icon to the HTML code? View the icons style guide
- Copy the class name inside the quotation marks from the selected icon available in the Font Awesome online library
-
Add custom CSS classes to a list item
- Within the edit view of a list item, add the class name(s) into the Custom CSS Class(es) field under the Custom fields section of the list item.
- If multiple classes are being added list them single space separated as shown in the example below:
-field.png?sfvrsn=7e801f56_1)
-
Open list item link in new window
- Within the edit view of a list item, add the class name link-new-window into the Custom CSS Class(es) field under the Custom fields section of the list item.
- If multiple classes are being added list them single space separated as shown in the example below:
-field.png?sfvrsn=7e801f56_1)
-
Add Modal box content to a list item
This content will display inside a modal box when the list item is selected.
- Within the edit view of a list item, under the Custom fields section, you must add # into the Hyperlink field.

- Add content to the ModalBoxContent field. You can format content similar to the content area of a list item.
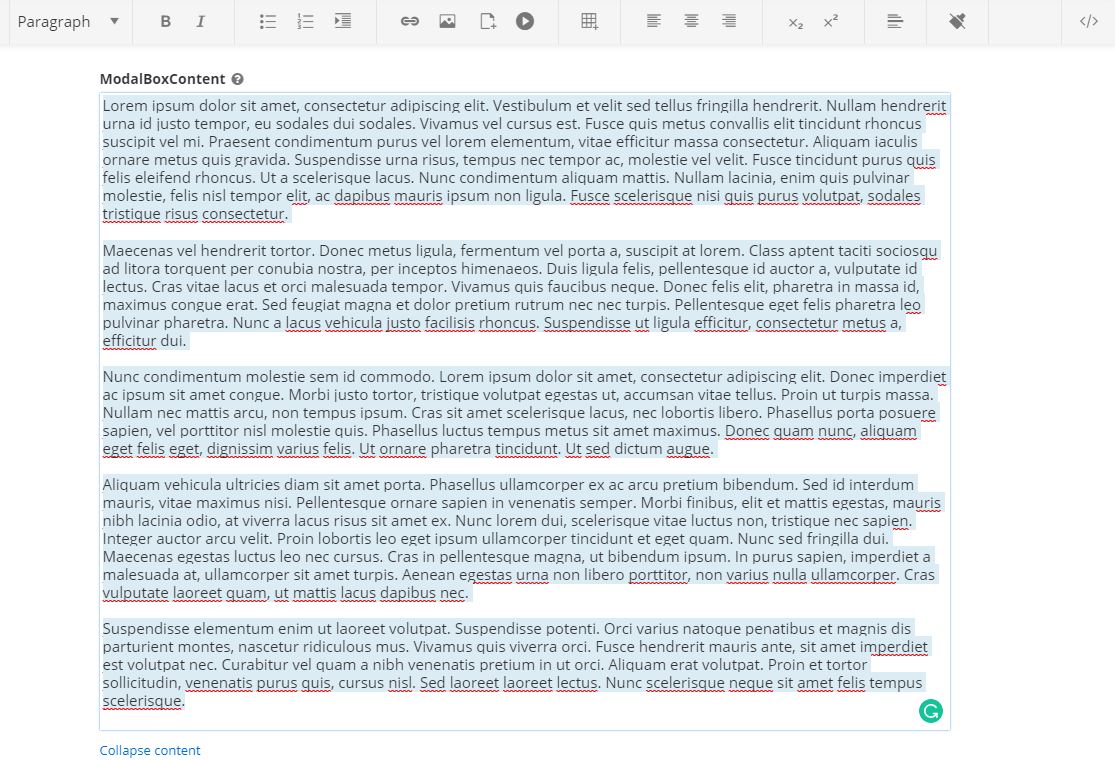
- Within the edit view of a list item, under the Custom fields section, you must add # into the Hyperlink field.
-
Add an image to a list item
- Within the edit view of a list item, under the Related media section click the plus symbol.
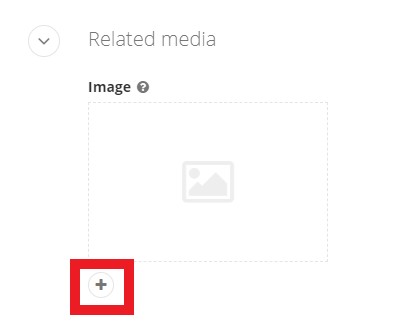
- Click Upload an image from your computer or Select an image from your library
Images can also be added to the content and modal box fields.
- Within the edit view of a list item, under the Related media section click the plus symbol.
-
Scheduling to publish and/or unpublish
Within the edit view of a page or content item, you can schedule a post to publish and/or unpublish on a specific date.
- Click the ellipses button (...) on the top-right of the page. Then select Schedule publish/unpublish from the drop-down menu.

- Type or select the date and time you would like to publish the page or item. You can also type or select the date and time you would like to unpublish. Click the Save changes button
when complete.
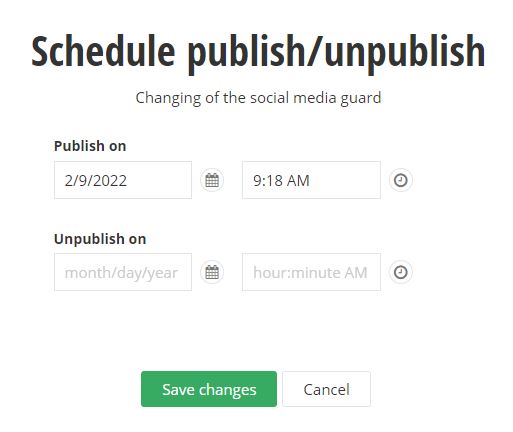
- Click the ellipses button (...) on the top-right of the page. Then select Schedule publish/unpublish from the drop-down menu.
-
Delete or unpublish a List Item
To remove a list item from a website you can delete or unpublish them. Unpublished items can be republished; deleted items cannot be recovered.
- Click the Content navigation menu item and then select Lists

- Click the List title that house the list items that you want to remove.
- Select delete or unpublish:
- To delete:
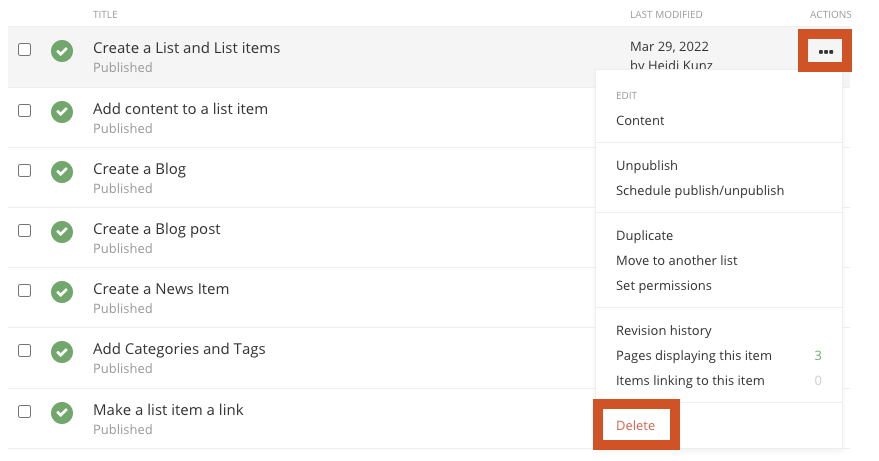
- Click the ellipses button (...) on the top-right of the list item you want to remove. Then select Delete from the drop-down menu.
OR
- Click the ellipses button (...) on the top-right of the list item you want to remove. Then select Delete from the drop-down menu.
- To Unpublish:
- Click the ellipses button (...) on the top-right of the list item you want to remove. Then select Unpublish or Schedule publish/unpublish from the drop-down menu.
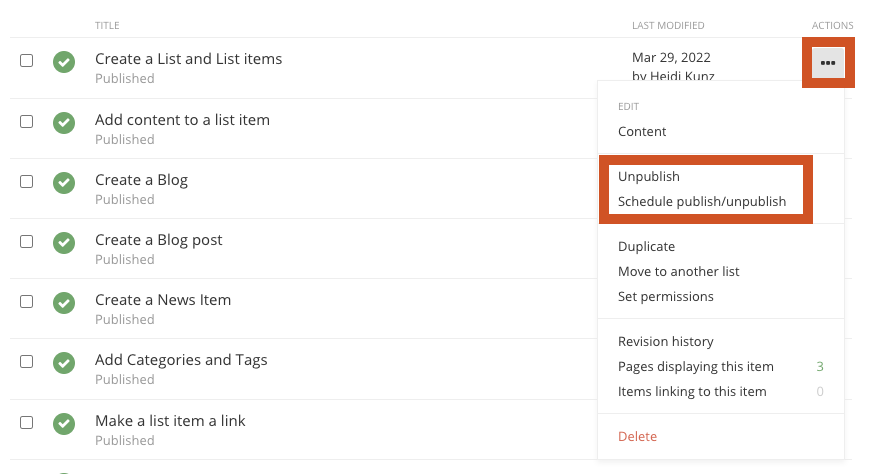
- Click the ellipses button (...) on the top-right of the list item you want to remove. Then select Unpublish or Schedule publish/unpublish from the drop-down menu.
- To delete:
- Click the Content navigation menu item and then select Lists
Add List Items to a Page
-
Add CSS classes to a list widget on a page
- In the edit view of the page, click edit on the list widget.

- Click More options and insert CSS classes in the CSS classes field. Multiple CSS classes can be added but must be separated by a space. List widget helper classes can be found on the Sitefinity Cheatsheet.
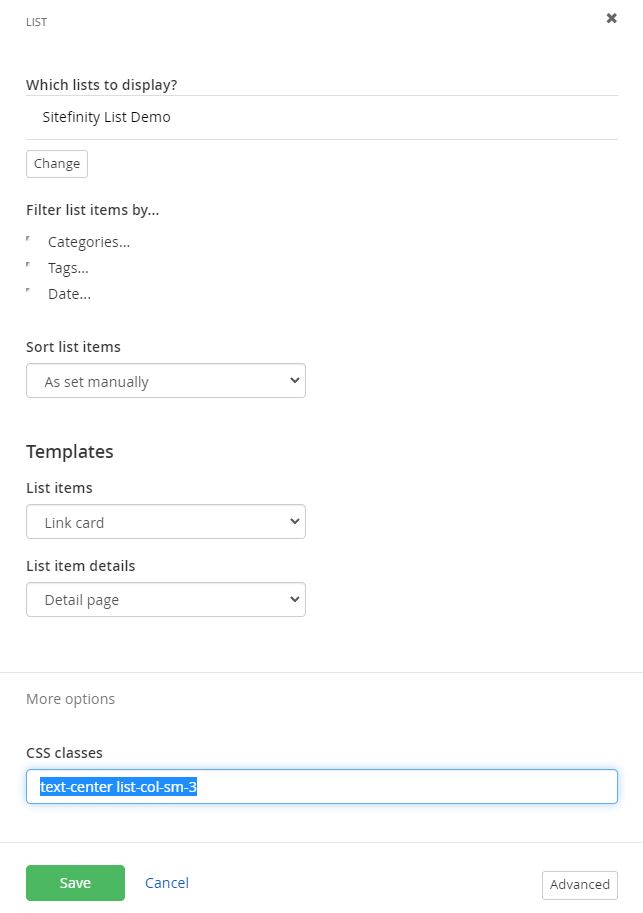
- In the edit view of the page, click edit on the list widget.
-
Add List widget to a page
Within the edit view of a page, you can add lists to a page. You must create a list first.
- On the right side menu, click the Content tab, click the Content drop-down menu and find the List widget. Click, hold and drag the List widget onto the desired part of the
page, and then release the list widget
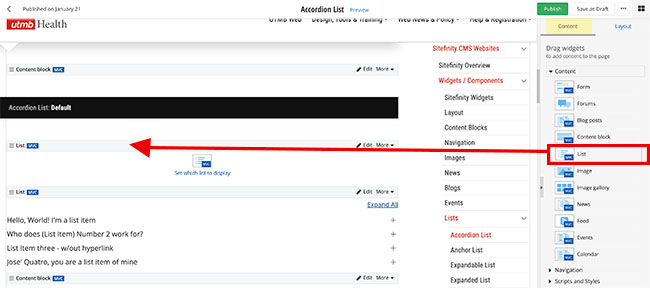
- On the right side menu, click the Content tab, click the Content drop-down menu and find the List widget. Click, hold and drag the List widget onto the desired part of the
page, and then release the list widget
-
Selecting a List widget template to be displayed on a page
- In the edit view of the page, click edit on the list widget.

- Click the List items drop-down menu under the Templates section
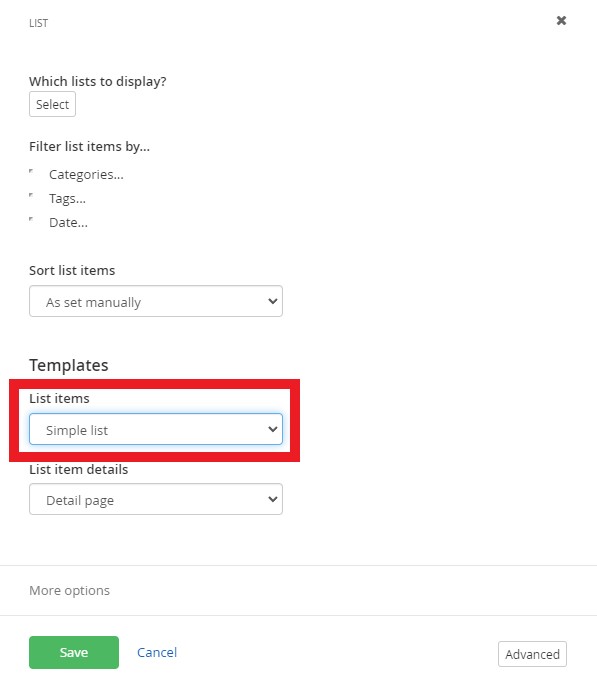
- Select the desired list widget template.
- Click the Save button when complete.
List widget template examples:
Accordion List | Anchor List | Expandable List | Expanded List | Link List | Link Card List | Panel List | Simple List | Tabs List
- In the edit view of the page, click edit on the list widget.
-
Filtering list items with Categories & Tags
You must add categories or tags to a list item before you can apply them to the list widget.
- In the edit view of the page, click edit on the list widget.

- Under the Filter list items by section click the words Categories to filter by categories or Tags to filter by tags.
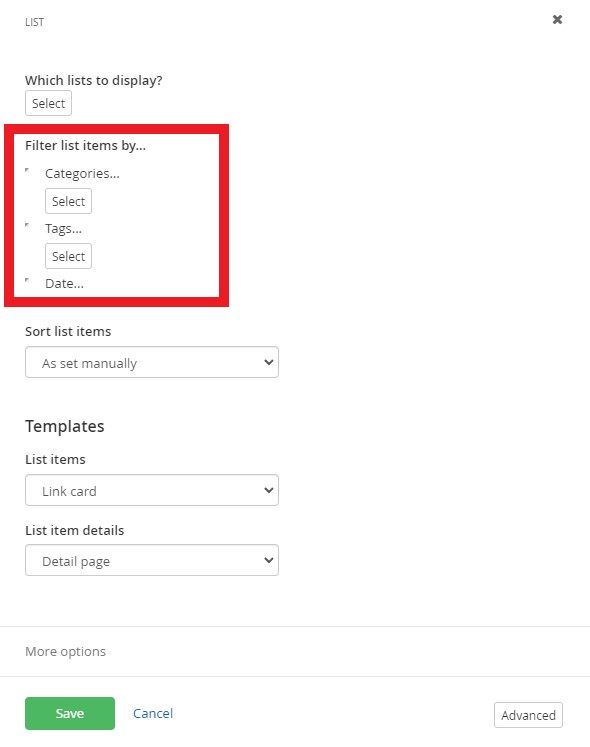
- Click the Select button
- Search for and select the desired category or tag name. You can select multiple categories and tags.
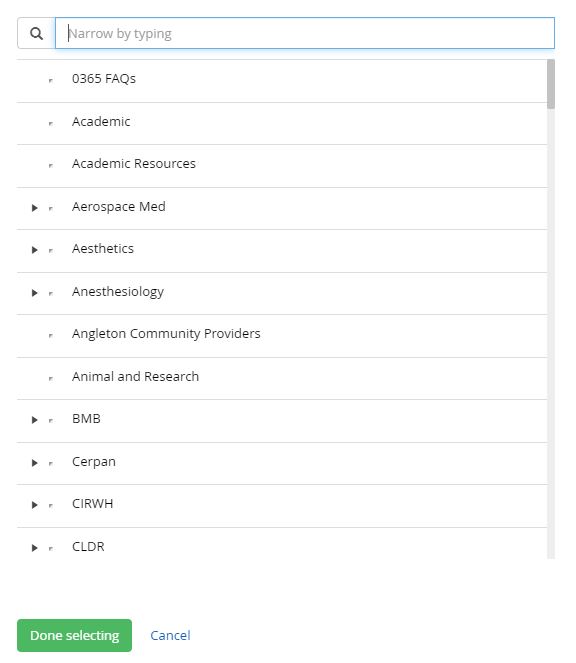
- Click the Done selecting button.
- Click the Save button when complete.
- In the edit view of the page, click edit on the list widget.
